Over 100 layers of history and tradition come together in the beloved Russian Honey Cake, known as Medovik. This intricate dessert, with its delicate balance of flavors, has captivated palates since the 19th century. To truly master this cake, one must not only understand its essential ingredients but also the precise techniques required for each layer. However, the journey from batter to beautiful centerpiece involves more than just following a recipe; it requires an appreciation for the art itself. What are the secrets that elevate Medovik from a simple dessert to a show-stopping masterpiece?
Need cookware for your meal? Toolbox, a Pear to Pear rental marketplace, might be worth a look.
Quick Takeaways
- Medovik, a traditional Russian honey cake, features eight moist layers enhanced by tangy sour cream frosting for a unique flavor profile.
- Key ingredients include honey, sugar, flour, eggs, sour cream, and heavy cream, each contributing to the cake's rich taste and texture.
- Proper baking techniques involve rolling layers to 1mm thick and baking at 180°C (355°F) for 5-6 minutes for optimal texture.
- Assemble the cake by brushing layers with honey syrup and applying generous frosting between layers, ensuring stability and moisture retention.
- Refrigerate the assembled cake for 8-10 hours to meld flavors, serving it chilled for the best taste and texture experience.
Overview of Medovik
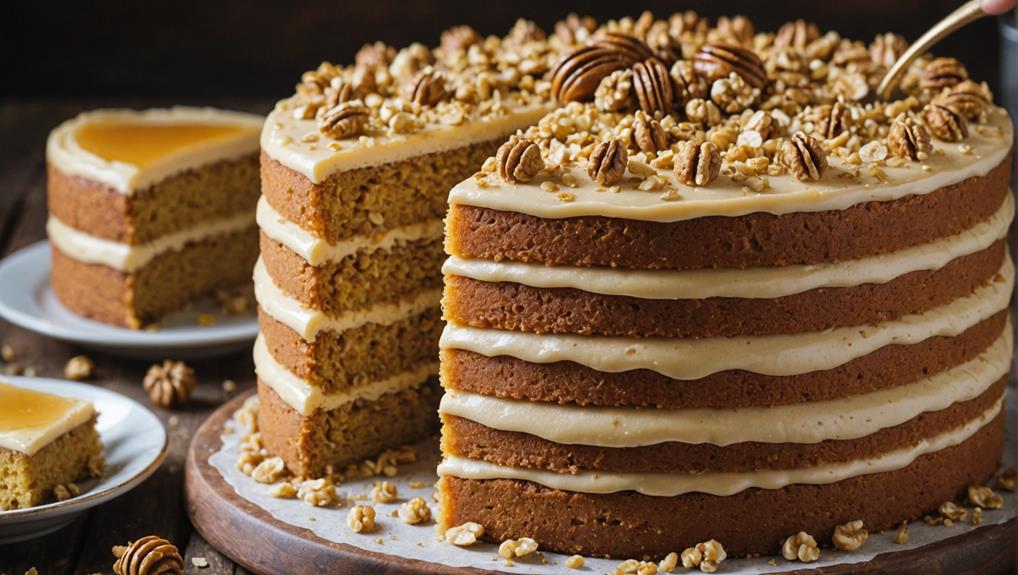
Medovik, often enchanting dessert lovers with its rich layers and unique flavor, stands as a beloved symbol of Russian culinary tradition. This traditional honey layer cake boasts eight soft, moist layers that create a delightful texture, all enhanced by a tangy sour cream frosting. Its origins trace back to the 19th century, when a young confectioner crafted it in Emperor Alexander's palace, overcoming Empress Elizabeth's initial dislike of honey.
The preparation of Medovik involves a meticulous, labor-intensive process. Bakers create cookie-like layers that, when assembled, soften beautifully, producing a dreamy consistency.
While variations exist, the traditional approach focuses on achieving crispy layers that absorb the frosting's moisture, ensuring an ideal texture. To fully appreciate the cake, it's best served after refrigerating for 8-10 hours, allowing the flavors to meld and intensify.
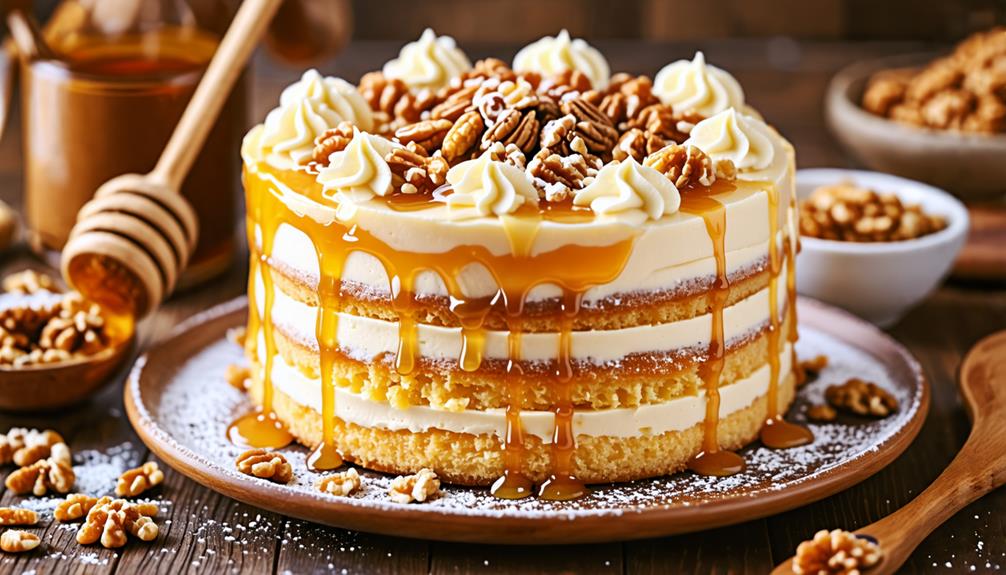
Medovik is often enjoyed alongside a steaming cup of coffee, which complements its rich, caramely-nutty flavor. This layered masterpiece not only provides a delightful treat but also serves as a conversation starter, inviting friends and family to share in the sweetness of Russian culture.
Essential Ingredients
To create the delightful layers of Medovik, bakers rely on a harmonious blend of key ingredients that come together to form its signature taste and texture. The star of this Russian honey cake is certainly the honey, which imparts a rich, floral flavor. Complementing this, sugar enhances the cake's sweetness, making every bite a treat.
A moist dough forms the foundation of Medovik, crafted from flour, eggs, butter, and baking soda. This combination provides the cake with its unique texture, allowing it to hold up beautifully as layers stack upon one another. The recipe typically calls for about 2 cups of flour, ensuring the dough remains soft yet structured.
Equally important is the frosting, where sour cream plays a pivotal role. It adds a tangy balance to the sweetness of the honey and sugar, elevating the overall flavor profile. For a smooth finish, heavy cream is whipped with sugar and vanilla extract, creating a decadent topping that perfectly complements the cake layers.
Key ingredients to reflect on:
- Honey for flavor
- Sugar for sweetness
- Sour cream for tanginess
- Heavy cream for frosting smoothness
Preparation Steps
As bakers commence on the journey of creating Medovik, the preparation steps play an essential role in achieving the perfect layers. To begin, they should caramelize honey over medium heat until it reaches a deep amber color, which enhances the cake's flavor and gives it that beautifully caramelised looking appearance.
Once achieved, they combine the caramelized honey with butter, sugar, and baking soda in a bain marie until the mixture is hot and bubbling. Gradually whisking in beaten eggs brings everything together harmoniously.
Next, they slowly incorporate flour into this mixture, forming a wet dough that requires refrigeration for 1.5 to 2 hours to firm up.
Once chilled, bakers divide the dough into eight equal portions, rolling each into thin layers approximately 1mm thick. Baking these delicate cake layers at 180°C (355°F) for 5-6 minutes until golden brown guarantees a delightful texture.
Baking Techniques
When it comes to baking the layers of Medovik, precise techniques can make all the difference.
Using bottom heat in an electric oven guarantees even cooking, while rolling the dough to about 1mm thick achieves that perfect crispiness.
With careful monitoring of baking time and strategic assembly methods, anyone can master this delightful Russian honey cake.
Layer Baking Techniques
Achieving perfectly baked Medovik layers requires meticulous attention to detail and specific techniques. For those enthusiastic to serve a delightful Russian Honey Cake, understanding the nuances of baking each layer is crucial.
To guarantee the ideal results, consider the following tips:
- Use bottom heat only in an electric oven to promote even cooking and avoid over-browning the tops.
- Roll each layer to approximately 1mm thickness to confirm they cook uniformly while maintaining the cake's desired texture.
- Bake the layers at 180°C (355°F) for 5-6 minutes, keeping a watchful eye to achieve that golden brown hue without burning.
- Employ parchment paper to cover the edges of the cake during baking, as this helps retain moisture and prevents the edges from becoming too hard.
These techniques not only enhance the baking process but also elevate the overall presentation of the Medovik.
With practice and care, every layer can become a demonstration of the baker's dedication, guaranteeing that each slice of cake will impress and delight those fortunate enough to enjoy it.
Custard Preparation Tips
The secret to a luscious Medovik lies in the custard's preparation, which requires careful attention to detail. To achieve a creamy consistency, one must temper the egg yolks by gradually adding hot milk, an essential step that prevents scrambling. This method guarantees the custard remains smooth and delightful.
As the mixture cooks, it's important to work over low heat, stirring constantly. This gentle approach allows the custard to thicken evenly, typically taking about 10-15 minutes. Using a double boiler can be a game-changer, maintaining a steady, gentle heat that wards off curdling and leads to a velvety finish.
Patience plays a fundamental role here; rushing the cooling process can ruin that perfect texture. Once the custard has thickened and cooled, it's advisable to refrigerate it for at least 24 hours after assembly.
This waiting period enhances both flavor and texture, allowing the custard to set properly and provide a harmonious balance between the honey cake layers. With these tips, home bakers can create a rich, indulgent custard that will elevate their Medovik to a truly memorable dessert.
Layer Assembly Strategies
Assembling the layers of Medovik is an art that requires precision and care to guarantee a beautiful and delicious result.
To make sure each layer shines in your presentation, follow these key strategies:
- Allow each baked layer to cool completely before assembly to maintain structural integrity and prevent melting frosting.
- Brush each layer with honey syrup before applying frosting; this boosts moisture and flavor absorption, enhancing the overall taste.
- Use a generous amount of frosting between each layer; this creates a balanced texture and keeps the layers from slipping apart.
- For peak stability, consider using a springform pan to hold the layers in place until they're fully set.
Once the layers are stacked, refrigerate the cake for 8-10 hours.
This vital step allows the flavors to meld beautifully and the frosting to firm up, resulting in a cohesive dessert that's ready to impress.
Assembling the Cake
Assembling the Russian Honey Cake requires careful attention to layering, frosting application, and decoration techniques.
Each layer should be brushed with honey syrup and generously spread with silky sour cream frosting for a moist, flavorful treat.
Layering Techniques Explained
Stacking the layers of a Russian honey cake requires precision and care to create a visually appealing and delicious dessert. To achieve the perfect assembly, one must employ effective layering techniques that enhance both taste and texture.
First, begin by brushing each baked layer with honey syrup, which not only adds moisture but also elevates the cake's rich flavor. Then, generously spread sour cream frosting between each layer to guarantee a harmonious balance. It's crucial to trim any uneven edges of the layers for a polished look.
Here are some key steps to remember:
- Brush each layer with honey syrup for added moisture and sweetness.
- Spread a generous amount of sour cream frosting to bind the layers.
- Trim uneven edges for a clean, professional appearance.
- Refrigerate the assembled cake for 8-10 hours to allow flavors to meld.
After stacking, coat the exterior with frosting and sprinkle crushed baked dough scraps for added texture and decoration.
This thoughtful layering process transforms the cake into a delightful centerpiece, ready to impress friends and family at any gathering.
Frosting Application Tips
When it comes to frosting application, achieving a smooth and even finish on a Russian honey cake can elevate its presentation and taste.
To start, brushing each cake layer with honey syrup before adding frosting is essential. This step enhances moisture and flavor, ensuring a delightful experience with every bite.
Once the layers are prepped, a generous amount of sour cream frosting should be applied between each layer, promoting balanced flavor distribution throughout the cake.
Using a spatula, spread the frosting evenly on the top and sides of the cake. This not only creates a visually appealing finish but also helps to seal in the moisture, keeping the cake layers tender and inviting.
To add some texture, crumble any excess baked dough and gently press it onto the frosting-covered surfaces.
Decoration and Presentation Ideas
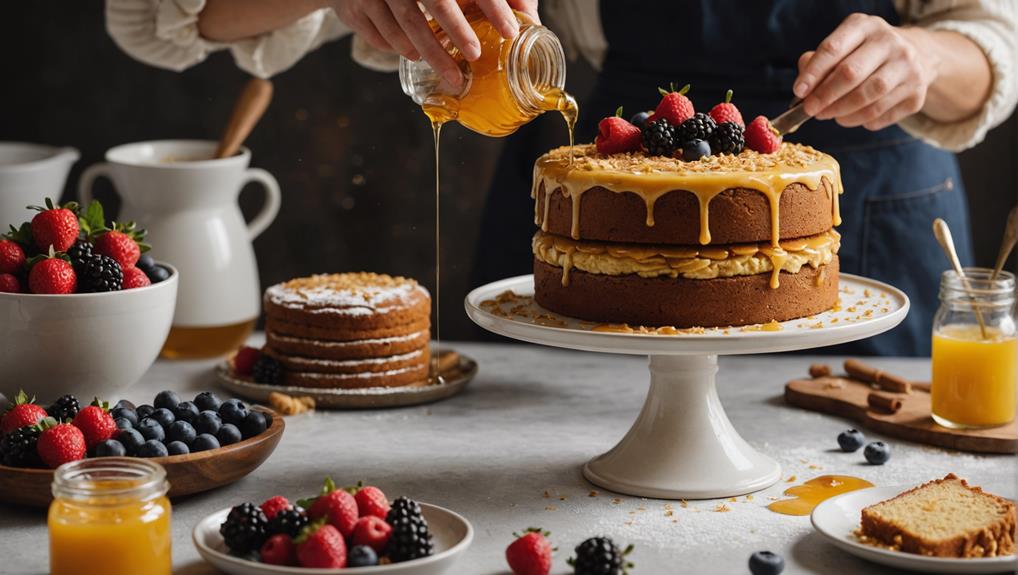
Creating a stunning presentation for a Russian honey cake can transform it from a delightful dessert into a showstopper. To start, layer each cake generously with honey syrup, infusing moisture and flavor.
Then, spread a smooth, silky sour cream frosting evenly between the baked layers, ensuring a cohesive texture throughout. After stacking, frost the exterior of the cake and shower it with crushed baked dough trimmings, adding both visual appeal and texture.
For the finishing touch, consider these decoration and garnish ideas:
- Roasted hazelnuts: Sprinkle them atop the cake for a nutty crunch that complements the honey.
- Chocolate shavings: Add a luxurious layer of flavor that pairs beautifully with the frosting.
- Fresh fruit: Decorate with berries or citrus slices for a pop of color and freshness.
- Edible flowers: Use them for a whimsical, elegant finish that delights the eye.
Frosting and Decoration
How can one elevate the beloved Medovik cake with the perfect frosting and decoration? To start, the frosting plays a significant role in enhancing this dessert's charm.
Combining heavy cream, sour cream, honey, powdered sugar, and vanilla extract, one must guarantee a smooth texture by incorporating the whipping cream in two batches. It's vital to avoid overmixing; a light consistency is key to the cake's softness.
Brushing each layer of the baked cake with honey syrup before applying the frosting adds moisture and a rich flavor.
Once frosted, the cake deserves thoughtful decoration. Crushed excess baked dough can be sprinkled on top, offering a delightful texture contrast that catches the eye.
For a polished finish, frost the sides evenly, then let the cake chill in the refrigerator for 8-10 hours. This resting period allows the flavors to meld beautifully, creating a harmonious taste experience for anyone lucky enough to enjoy it.
With this attention to detail in frosting and decoration, the Medovik transforms into a stunning centerpiece, ready to impress and delight guests at any gathering.
Serving Suggestions
Serving Medovik is an experience that can elevate any gathering, transforming a simple dessert into a memorable occasion. This beloved Russian honey cake is best enjoyed chilled after refrigeration for 8-10 hours, allowing its flavors to meld beautifully and the layers to soften.
When presenting Medovik, consider these delightful serving suggestions:
- Garnish with roasted hazelnuts: This adds a crunchy texture that contrasts wonderfully with the cake's softness.
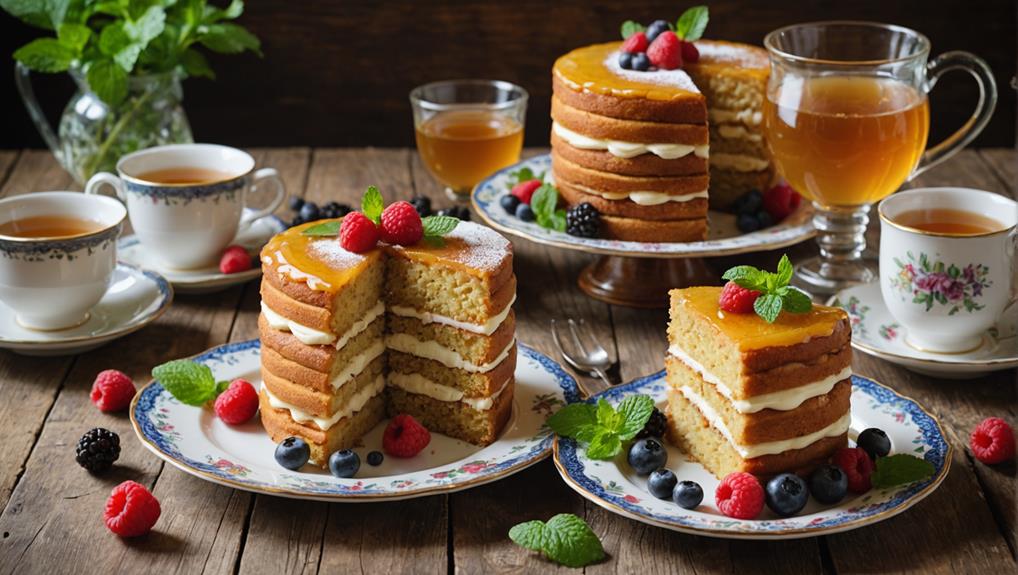
- Pair with coffee or tea: The sweet and tangy flavors of Medovik are beautifully complemented by a warm beverage, enriching the overall tasting experience.
- Slice into various shapes: Whether for a casual brunch or a formal dinner, versatile slicing can adapt to any occasion.
- Dust with powdered sugar or cocoa powder: An elegant finishing touch, this enhances the cake's visual appeal and invites guests to indulge.
Recipe Variations
What makes Medovik such a versatile dessert is its ability to adapt to different tastes and occasions through various recipe variations. The dough consistency can range from thick to runny, or even cookie dough-like, offering bakers creative freedom.
Traditional variations focus on achieving crispy layers that soak up moisture from the frosting, enhancing the cake's flavor and texture.
For those looking to experiment, unique ingredients like nuts or chocolate can introduce distinct flavor profiles while preserving the beloved honey essence. A delightful spin on the classic involves incorporating salted caramel, providing a rich, sweet contrast to the traditional honey taste.
Bakers can also simplify the process for smaller gatherings by adjusting the recipe for smaller servings. Using a baking tray to create a layered Medovik allows for easy cutting and sharing, making it perfect for any occasion.
These recipe variations not only cater to diverse palates but also inspire creativity in the kitchen. Whether serving at a festive gathering or a cozy family dinner, these adaptations guarantee that Medovik remains a cherished centerpiece, delighting everyone with its rich history and delightful flavors.
Common Questions
What Is the Story Behind the Russian Honey Cake?
The Russian honey cake's story unfolds in Emperor Alexander's palace, where a young confectioner created it to charm Empress Elizabeth. Her eventual delight in the dessert sparked its popularity, making it a cherished staple of Russian cuisine.
What Is the Significance of Honey Cake?
Honey cake embodies warmth and hospitality, inviting gatherings with its rich, layered texture. It symbolizes cherished family traditions and cultural heritage, sweetening celebrations while offering health benefits, making it a beloved staple in Russian households.
Is Medovik Russian or Ukrainian?
Medovik's origins lie in Russian tradition, but it enjoys popularity in both Russian and Ukrainian cuisines. Its honey-infused layers and sour cream frosting showcase a delightful fusion, making it a beloved dessert across Slavic cultures.
Why Is Russian Cake Called Russian Cake?
A symphony of flavors dances on the tongue, and that's why it's called a Russian cake. Its rich history, unique ingredients, and cultural significance weave together, celebrating the essence of Russia's culinary heritage.
Wrapping Up
In mastering the art of Russian Honey Cake, one unveils a treasure trove of flavor and tradition. Each layer tells a story of warmth and celebration, inviting loved ones to gather and savor every bite. As the sweet aroma fills the kitchen, it's more than just a dessert; it's a heartfelt embrace that lingers long after the last slice is gone. With practice and passion, anyone can create this stunning centerpiece, turning ordinary moments into cherished memories.